
Love the lasting power of gel nails but crave the color variations of regular polish?
You’re in luck! It’s absolutely possible to enjoy both. This comprehensive guide will show you how to apply regular polish over your gel nails correctly, ensuring a flawless finish and a longer-lasting manicure.
We’ll cover everything from understanding the differences between these nail products to essential application tips and aftercare.
Understanding Gel Nails and Regular Polish
Before we jump into the application, it’s important to understand the differences between these two types of polish. This knowledge will help you achieve the best possible results and avoid any potential issues. Let’s take a quick look at what makes each type unique.
| # | Preview | Product | |
|---|---|---|---|
| 1 |

|
JODSONE Gel Nail Polish Kit 60 PCS with U V Light Soak... | Check Price |
| 2 |

|
SUNUV UV LED Nail Lamp, Gel Light for Nail Polish UV... | Check Price |
| 3 |

|
JODSONE Gel Nail Polish Kit with U V Light 32 Colors... | Check Price |
| 4 |

|
Artdone 31pcs Nail Art Brushes, Nail Art Tool Set,... | Check Price |
The Basics of Gel Nails
Gel nails, or gel manicures, are known for their durability and long-lasting wear. Unlike traditional nail polish, which air dries, gel nail polish requires curing under a UV or LED lamp. This curing process hardens the gel polish, resulting in a chip-resistant, high-gloss finish that can last for several weeks. Gel polish comes in a vast array of colours and finishes, making it a versatile choice for any style.
To create a gel manicure, a base coat, colour gel polish (sometimes in multiple coats), and top coat are applied, with each layer being cured under a UV lamp. The result is a long-lasting manicure that resists smudges and chips.
| # | Preview | Product | |
|---|---|---|---|
| 1 |

|
Manicure set Men Personal Care Tools Accessories Finger... | Check Price |
| 2 |

|
Pefei Tweezers Set - Professional Stainless Steel... | Check Price |
| 3 |

|
Super Strong Nail Glue for Press On Nails, Nail Tips &... | Check Price |
| 4 |
|
JODSONE Gel Nail Polish Kit 60 PCS with U V Light Soak... | Check Price |
How Regular Polish Differs from Gel
Regular polish, also called traditional nail polish or nail lacquer, is a solvent-based formula that air dries to a solid finish. While not as durable as gel polish, regular polish offers its own set of advantages. First and foremost, it is widely available in a dizzying variety of colours, finishes, and special effects. Regular polishes also tend to be more affordable than gel polish, making them a budget-friendly option for frequent colour changes.
With regular polish, there’s no need for special equipment like UV lamps for curing. Additionally, removal is typically easier, requiring only standard nail polish remover. This makes regular polish a convenient choice for those who like to switch up their nail colour often.
Preparing Your Gel Nails for Regular Polish
Proper preparation is the foundation of any successful manicure, especially when applying regular polish over gel nails. The goal is to create a smooth and slightly porous surface for optimal adhesion, preventing your regular polish from chipping or peeling prematurely.
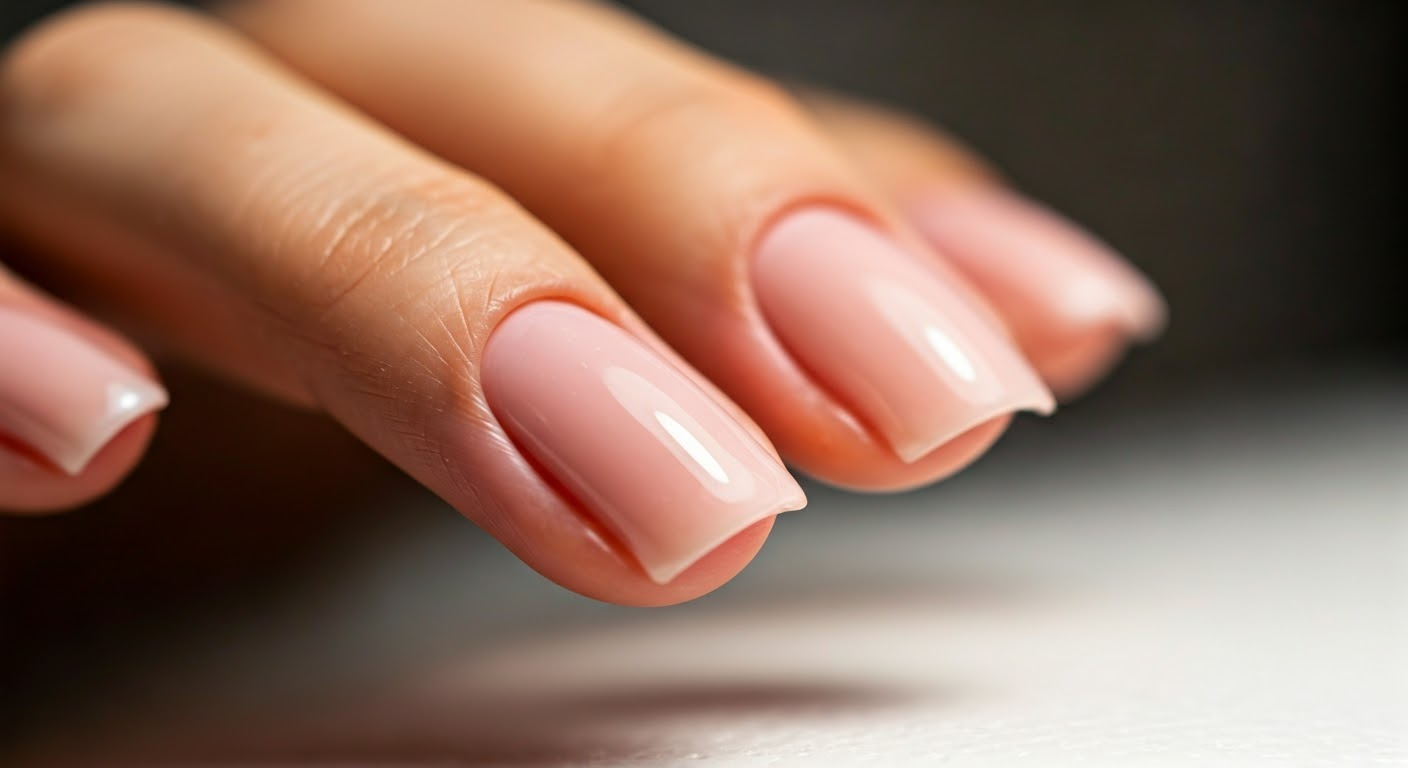
Assessing the Condition of Your Gel Nails
Before you grab your favourite regular polish, start by inspecting the current state of your gel manicure. If your gels are relatively fresh and smooth, you might only need a light buffing. However, if you have any significant chips, lifting, or unevenness, it’s best to address those areas first.
Gently smooth out any raised areas or chips using a fine-grit nail buffer. Avoid over-buffing the entire nail surface, as this can thin out the gel and potentially damage your natural nail. For stubborn chips or lifting, you can carefully file them down using a fine-grit file. Once you’re happy with the smoothness, use a lint-free wipe and some rubbing alcohol or a gentle nail cleanser to remove any dust or residue.
Necessary Preparations for a Smooth Application
After ensuring your gel nails are in good shape, it’s time for some essential prep that will make a world of difference in the longevity of your regular polish application. A clean and slightly textured surface is crucial for optimal adhesion.
Start by gently buffing the surface of your gel nails with a fine-grit buffer. This creates microscopic ridges that help the regular polish grip onto the surface better, preventing chipping and peeling. However, be careful not to over-buff, as this can thin out your gel manicure.
After buffing, cleanse your nails thoroughly with rubbing alcohol or a gentle nail cleanser. This removes any dust, oils, or residue from the buffing process, ensuring a pristine canvas for your polish.
Beginner’s Guide to Painting Regular Polish Over Gel Nails
To master painting regular polish over gel nails requires precision. Start by gently buffing the gel surface to remove shine. Apply a base coat to protect the natural nail underneath. Once dry, carefully brush on your desired regular nail polish color and seal it with a quality top coat. For best results, avoid direct contact between the regular polish and gel nails. Experiment with a gelly sandwich technique for a unique finish. Remember, practice and patience lead to flawless results.
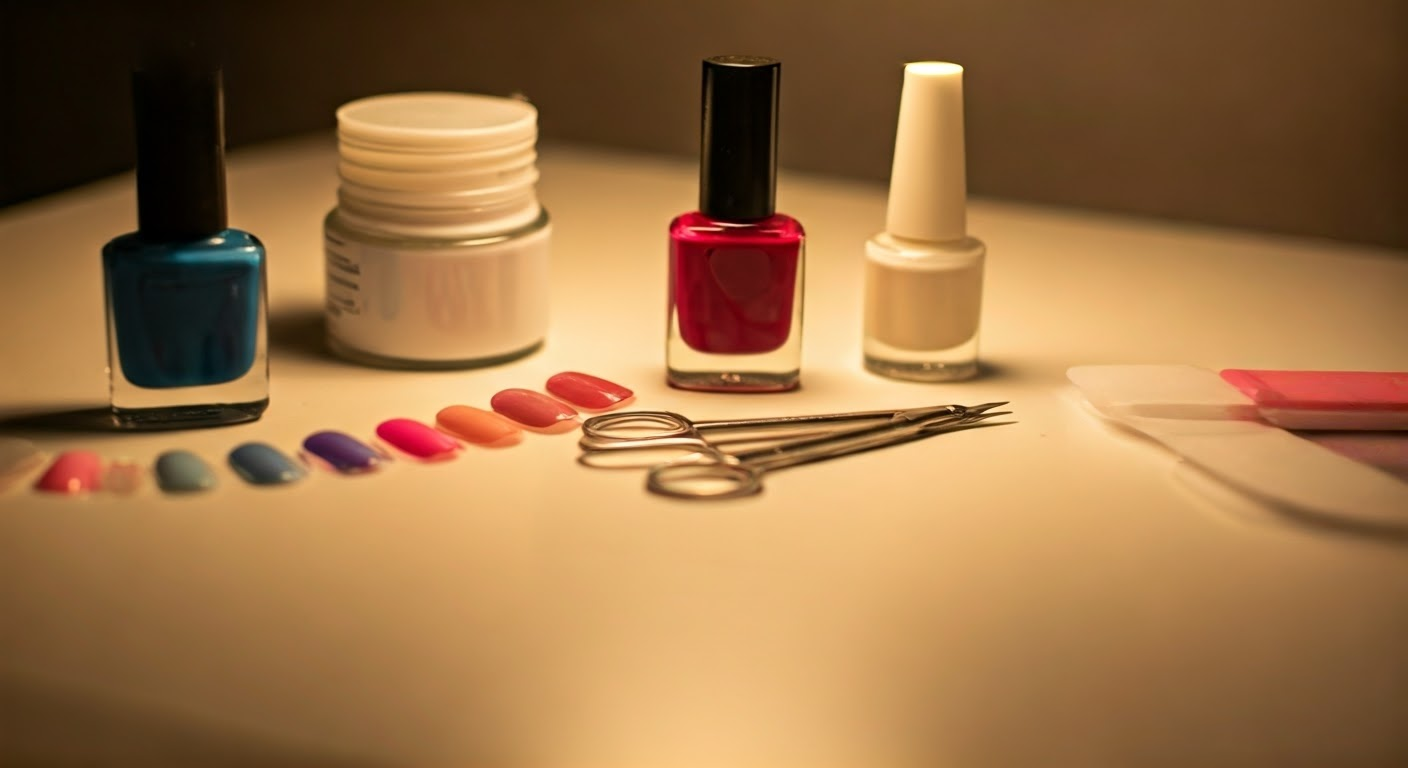
What You Will Need
Before you begin, gather all the supplies you’ll need for a seamless and satisfying nail painting experience. Having your tools and polishes ready will make the process much smoother.
Here’s a handy checklist:
- Regular polish of your choice
- Base coat formulated for regular polish
- Top coat (can be regular or a gel top coat for extra strength)
- Fine-grit nail buffer
- Lint-free wipes
- Rubbing alcohol or nail cleanser
- Optional: Cuticle pusher, cuticle oil
Step 1: Cleaning and Buffing the Nail Surface
As with any manicure, a clean and prepped surface is paramount for long-lasting results. Start by washing your hands thoroughly with soap and water, ensuring all traces of lotion or oils are removed from your nails.
Once your hands and nails are squeaky clean, grab your fine-grit buffer and lightly buff the surface of your gel manicure. The goal here is not to remove the gel but rather to create a slightly roughened texture for the regular polish to grip onto. Be gentle and avoid over-buffing, as this could thin out your gel nails.
Finally, wipe down your nails with rubbing alcohol or a nail cleanser using a lint-free wipe to remove any dust or residue left behind from the buffing process.
Step 2: Applying a Base Coat
A base coat fortifies your nails and acts as a protective barrier, but in this case, it also plays a vital role in promoting better adhesion for your regular polish.
Using the same careful technique you would for a gel manicure, apply a thin and even layer of a base coat specifically designed for regular polish. Avoid flooding your cuticles – aim for a smooth, even application across the entire nail plate.
Allow the base coat to dry completely before moving on to the next step. A dry base coat will provide the best foundation for your regular colour polish.
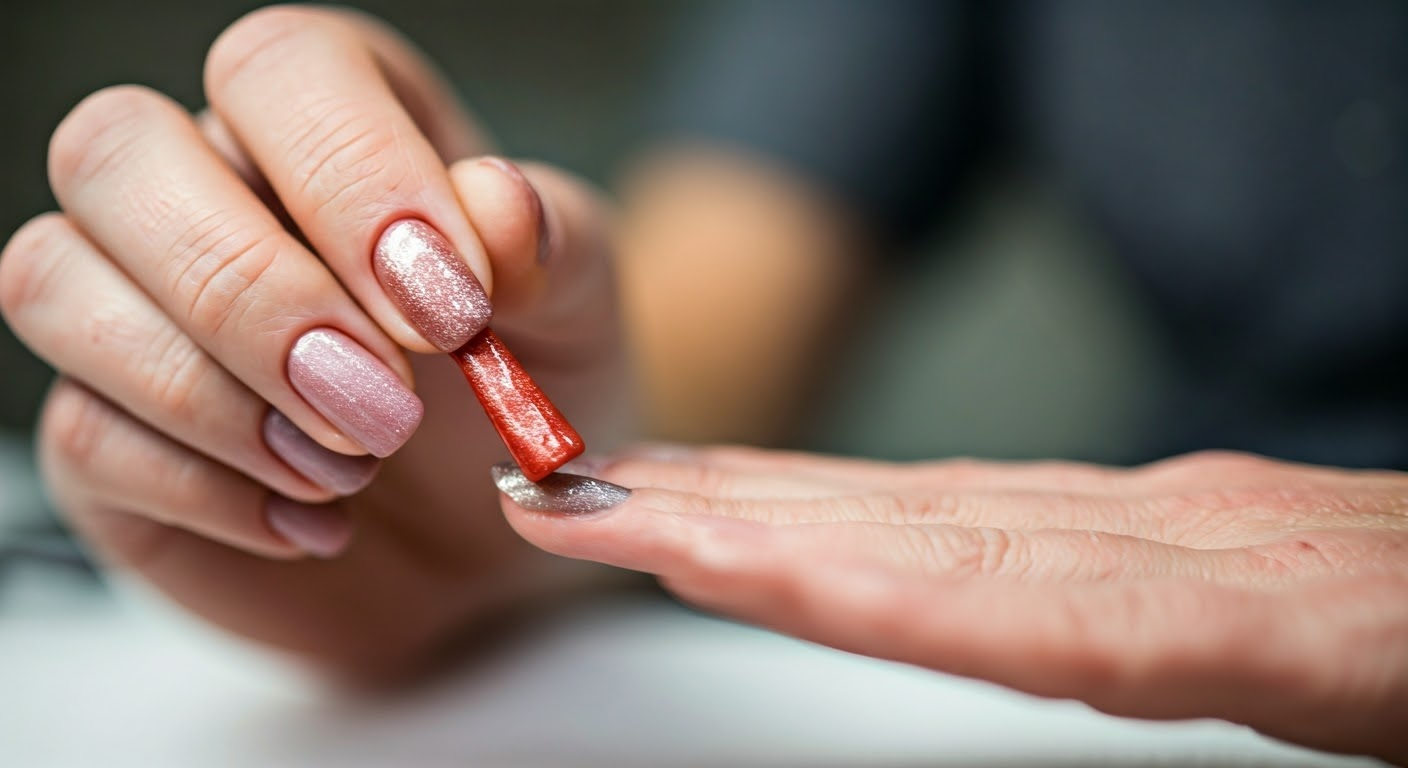
Step 3: Painting with Regular Polish
Now comes the fun part – adding your favourite colour! Just like with a standard manicure, roll your chosen regular nail polish bottle between your palms for a few seconds to mix the formula properly.
Begin by wiping one side of the polish brush against the inside of the bottle neck to remove any excess. Starting at the base of your nail, gently glide the brush upwards towards the free edge, using smooth and even strokes. Aim for two thin coats of colour for complete coverage, allowing each coat to dry thoroughly in between.
Thin coats are key here, as they’ll dry faster and prevent any bubbling or unevenness. If you prefer more opaque coverage or are using a sheer polish, you can apply a third thin coat.
Step 4: Sealing with a Top Coat
To seal in your handiwork and maximise the lifespan of your regular polish over the gel nails, a good quality top coat is essential. Apply a thin, even layer of your chosen top coat, capping the free edge for extra protection against chipping.
Again, thin coats are crucial for optimal drying and to avoid any thick or uneven patches. You can choose a regular top coat for this step or opt for a gel topcoat if you’re looking for added durability and a super glossy finish. If you go for the gel option, cure it under your UV or LED lamp as per the manufacturer’s instructions.
Maintenance and Aftercare
Taking care of your regular polish over your gel manicure is simple and straightforward. By incorporating a few extra steps into your routine, you can help your polish stay chip-free and vibrant for longer.
Tips for Prolonging Wear
To keep your nails looking their best and prevent any premature chipping, consider these simple yet effective tips:
- Hydrate your cuticles daily with cuticle oil. This helps keep the surrounding skin supple and prevents dryness, which can contribute to polish lifting at the edges.
- Wear gloves when doing dishes or any household chores that involve prolonged exposure to water or harsh chemicals. This will protect both your regular polish and the underlying gel manicure.
- Avoid using your nails as tools. Picking, prying, or scraping can chip your polish and potentially damage your gel nails.
With a little TLC, you can enjoy your colourful creation for an extended period.
When to Remove and Start Fresh
Even with proper care, regular polish will eventually start to chip, especially when applied over gel nails. Typically, you’ll notice wear and tear within a week or so, depending on your lifestyle and nail care routine.
Once your manicure starts to look less than stellar, it’s time for a refresh. Since the underlying gel manicure acts as a protective shield, removing your regular polish is a breeze. Use a non-acetone polish remover to avoid disrupting the gel base. If you used a gel top coat, standard nail polish remover will do the trick.
Once your regular polish is gone, assess your gel nails. If they’re still in good condition, you can simply repeat the process to apply a fresh coat of regular polish. If your gel manicure is showing signs of wear, it’s time for a full removal using a proper gel removal process. This will keep your natural nails healthy and allow for a fresh start when you’re ready.
Conclusion
In conclusion, mastering the art of painting regular polish over gel nails opens up a world of creativity and convenience for your nail care routine. Understanding the fundamentals of gel nails and how to prepare them properly is key to achieving a flawless finish. By following the step-by-step guide provided, you can effortlessly transition between gel and regular polish while maintaining the health and longevity of your nails. Remember, proper maintenance and aftercare play a significant role in prolonging the wear of your manicure. Embrace this technique to express your style with ease and confidence.
Frequently Asked Questions
Can I use any regular polish over gel nails?
Yes, you can generally use any regular polish over gel nails! Just ensure your gel manicure is prepped properly, and always use a high-quality base coat for better adhesion and to prevent staining.