
Painting a seal requires some basic supplies and knowledge. To start, you’ll need paint, brushes, a canvas, and a reference image of a seal. Once you have the supplies, you can sketch the outline of the seal onto the canvas with a pencil before you begin painting.
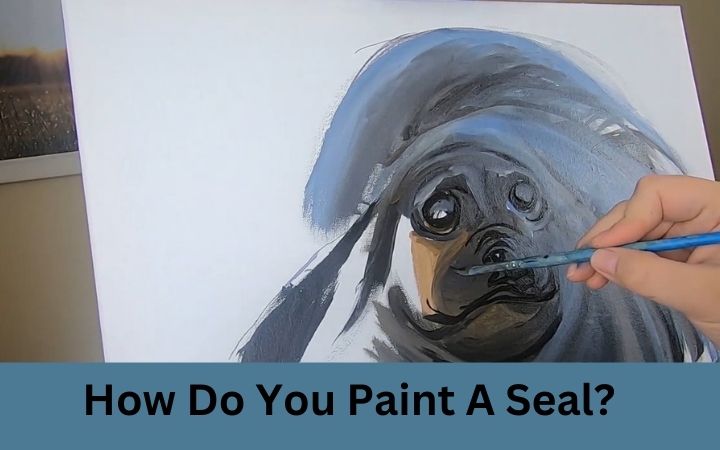
How Do You Paint a Seal?
Painting a seal can be a fun and rewarding experience for any artist. It can also be a challenge, as capturing the intricate details of a seal’s coat and expression can be tricky. With a few tips and tricks, however, you can learn to paint a realistic-looking seal in no time.
This step-by-step guide will show you how to paint a seal with watercolors so that you can share your masterpiece with friends and family.
Before You Begin
Before you start painting, you’ll need to gather the right supplies. Watercolor paints, a brush, some paper, and a drawing pencil to sketch out your design are all necessary. Make sure to choose a high-quality watercolor paint set, as the quality of your paints will directly impact the end result of your painting.
You’ll also want to find a reference image of a seal so that you can use it for guidance. Look for an image that clearly shows the seal’s features, as this will help you to accurately recreate them in your painting.
Step One: Sketching the Seal
Using your reference image, begin by sketching out the shape of the seal’s body. Don’t worry if your sketch isn’t perfect, as this is just a rough guideline. If you need to, you can erase and redraw the seal until you’re happy with the shape.
Next, sketch in the details, such as the eyes, nose, and whiskers. Be sure to draw in all of the details with a light hand. This will make it easier to cover them up with paint later on.
Step Two: Adding Color
Once you’re happy with your sketch, it’s time to start adding some color. Begin by mixing a light gray watercolor paint, and use this to paint in the seal’s body and head.
Next, mix a darker gray and use it to add shadows to the seal’s body. This will give the seal more dimension and make it look more realistic.
Finally, add some white watercolor paint to the seal’s body to give it a glossy appearance. You can also use a lighter shade of gray to paint the seal’s eyes, nose, and whiskers.
Step Three: Finishing Touches
Now that you’ve painted the seal’s body, it’s time to add some finishing touches. Begin by painting in any remaining details, such as the tips of the whiskers or the fur pattern on the seal’s head.
Next, paint in some highlights, such as the reflection of the light on the seal’s body, to make it look even more lifelike. Finally, add some texture to the seal’s fur by splattering some white watercolor paint on it.
Congratulations! You’ve now created a realistic-looking seal painting. All that’s left to do is to let the painting dry and then admire your work.
Painting a seal can be a great way to practice your watercolor painting skills. With a few simple steps, you can create a beautiful and detailed piece of art that you’ll be proud to display in your home. So grab your supplies and get ready to start painting!
How do I seal acrylic paint?
To seal acrylic paint, you will need to apply a thin layer of acrylic varnish using a soft brush or a roller. Once the varnish is dry, you can then apply a thin layer of a UV-resistant coating. Wait for the UV-resistant coating to dry before applying a second coat. Once dry, your painting will be sealed and ready to be displayed.
Here is a step-by-step guide to sealing an acrylic painting:
1. Make sure your painting is completely dry before you begin.
2. Apply a thin layer of acrylic varnish using a soft brush or a roller.
3. Wait for the varnish to dry before applying a second coat.
4. Once the second coat is dry, apply a thin layer of a UV-resistant coating.
5. Wait for the UV-resistant coating to dry before applying a second coat.
6. Once dry, your painting is now sealed and ready to be displayed.
Conclusion
Painting a seal can be an enjoyable experience, but it requires patience, dedication and the right materials. Before you begin, make sure to have all of the necessary supplies ready and to create a work area that is comfortable and accessible. Once you have all of the necessary supplies, you can begin the process of painting a beautiful seal. With a few simple steps, you can create a colorful and vibrant seal that is sure to be admired by all.