
Acrylic nails have become increasingly popular for their durability and long-lasting wear. While a trip to the salon is standard for application and removal, you might be looking for ways to switch up your nail polish between appointments.
The good news is that you can refresh your acrylics at home. With the right techniques and a little patience, your at-home manicure can look just as polished as a salon visit.
Understanding Acrylic Nails

If you’re considering acrylic nails for the first time, it’s helpful to understand the basics. Acrylic nails are created using a combination of acrylic powder and a liquid monomer. When mixed, these two components form a paste that can be sculpted onto your natural nails. The acrylic hardens quickly, creating a durable and long-lasting base for your desired nail polish.
The application process typically involves applying the acrylic mixture over your natural nails, shaping them to your preferred length and style, and then curing them under a UV lamp. Once the acrylic is hard, your nail technician will file and buff the nails for a smooth surface. They will then apply nail polish, gel polish, or other nail decorations.
The Basics of Acrylic Nails
Let’s break down the essential components:
- Acrylic Powder: This fine powder is the base material for acrylic nails. It comes in various colors, but clear or natural tones are most commonly used for a blank canvas.
- Liquid Monomer: This liquid activator, when combined with acrylic powder, initiates a chemical reaction that causes the mixture to harden and form the durable acrylic nail.
- Nail Glue: While not part of the acrylic mixture itself, nail glue is essential for securing any nail tips that extend beyond your natural nail. It ensures a strong bond between your natural nail and the acrylic extension.
Benefits and Drawbacks of Acrylic Nails
Acrylic nails offer a range of advantages. Their durability makes them an excellent choice for individuals who struggle with keeping regular nail polish from chipping. Compared to natural nails, acrylics are less likely to break, making them suitable for people who work with their hands. And for those who desire length, acrylics provide a strong foundation for extensions.
However, it’s equally vital to consider the potential downsides. Some individuals may experience temporary weakening or thinning of their natural nails due to the chemicals involved in the acrylic application process. Additionally, acrylic nails require regular upkeep, including fills every few weeks, which can become costly over time. If you’re sensitive to harsh chemicals, it’s important to have good ventilation.
Preparing to Paint Acrylic Nails

Before you begin painting your acrylic nails, it’s crucial to gather all the necessary tools and prepare your nails properly. A little preparation ensures a smooth application and a longer-lasting manicure. It also helps protect the acrylic from damage.
Having a dedicated space to work in is also beneficial. Make sure your workspace is well-lit. This will help you see your nails clearly. Cover your work surface to prevent staining and make clean-up easier.
Essential Tools and Materials
To get started, you’ll need a few things:
- Non-Acetone Nail Polish Remover: Unlike regular nail polish remover, a non-acetone formula will not damage or dissolve the acrylic. It’s the safest way to remove existing polish from acrylics.
- Base Coat: Using a base coat specifically designed for acrylic nails is essential. It creates a protective barrier between the acrylic and the nail polish, preventing staining and ensuring the longevity of your manicure.
- Top Coat: Invest in a high-quality top coat formulated for acrylic nails. A top coat seals in the color, enhances shine, and adds an extra layer of protection.
- Cuticle Oil: Applying cuticle oil regularly helps to hydrate your nails and cuticles, keeping them healthy.
Preparing Your Nails for Painting
Preparation is key, so let’s ensure your nails are ready:
- Wash Your Hands: Begin by washing your hands using warm, soapy water. It removes any dirt, oil, or residue that could interfere with the polish.
- Push Back Your Cuticles: Gently push back your cuticles using a cuticle pusher or an orangewood stick. However, avoid cutting your cuticles, as this can lead to irritation or infection.
- Dry Thoroughly: Moisture is the enemy of a long-lasting manicure, so make sure your nails are completely dry before applying any polish. Pat them dry with a clean, lint-free towel.
A Beginner’s Guide to Painting Acrylic Nails
Now that your nails are prepped and ready, you can proceed with the actual painting. And don’t worry; even if you’re a beginner, these steps are easy to follow. Remember that practice makes perfect. Don’t be afraid to experiment until you find a technique that you’re comfortable with.
Step 1: Clean and Buff the Nail Surface
You’ve already cleaned your nails with soapy water, but now it’s time to prep for the polish.
- Old Polish Removal: Start by removing any traces of old polish with your acetone-free nail polish remover. Using a lint-free wipe or cotton pad, gently swipe the remover across each nail.
- Gentle Buffing: If your acrylic nails have lost their shine, consider gently buffing them with a fine-grit buffer. This creates a smoother surface for the polish to adhere to, but remember to avoid over-buffing, as it can thin the acrylic.
Step 2: Apply a Base Coat for Better Adhesion
Now for a crucial step:
- Shake It Up: Before applying, make sure to roll your chosen base coat between your hands for a few seconds to mix the formula properly.
- Thin and Even: Apply a thin and even coat of base coat to each nail. Don’t skip this step, as the base coat not only protects your acrylics but also enhances the longevity of the nail polish.
- Let it Dry: Allow the base coat to dry completely before moving on to the next step.
Step 3: Painting Your Acrylic Nails
The fun begins!
- Nail Polish Color Selection: Choose your desired nail polish color. Whether you prefer classic reds, vibrant neons, or elegant neutrals, the options are limitless. Don’t be afraid to experiment and try new shades.
- Coats of Polish: For optimal coverage, it’s generally recommended to apply two coats of nail polish. Start by applying a thin coat to each nail, allowing it to dry before applying the second coat.
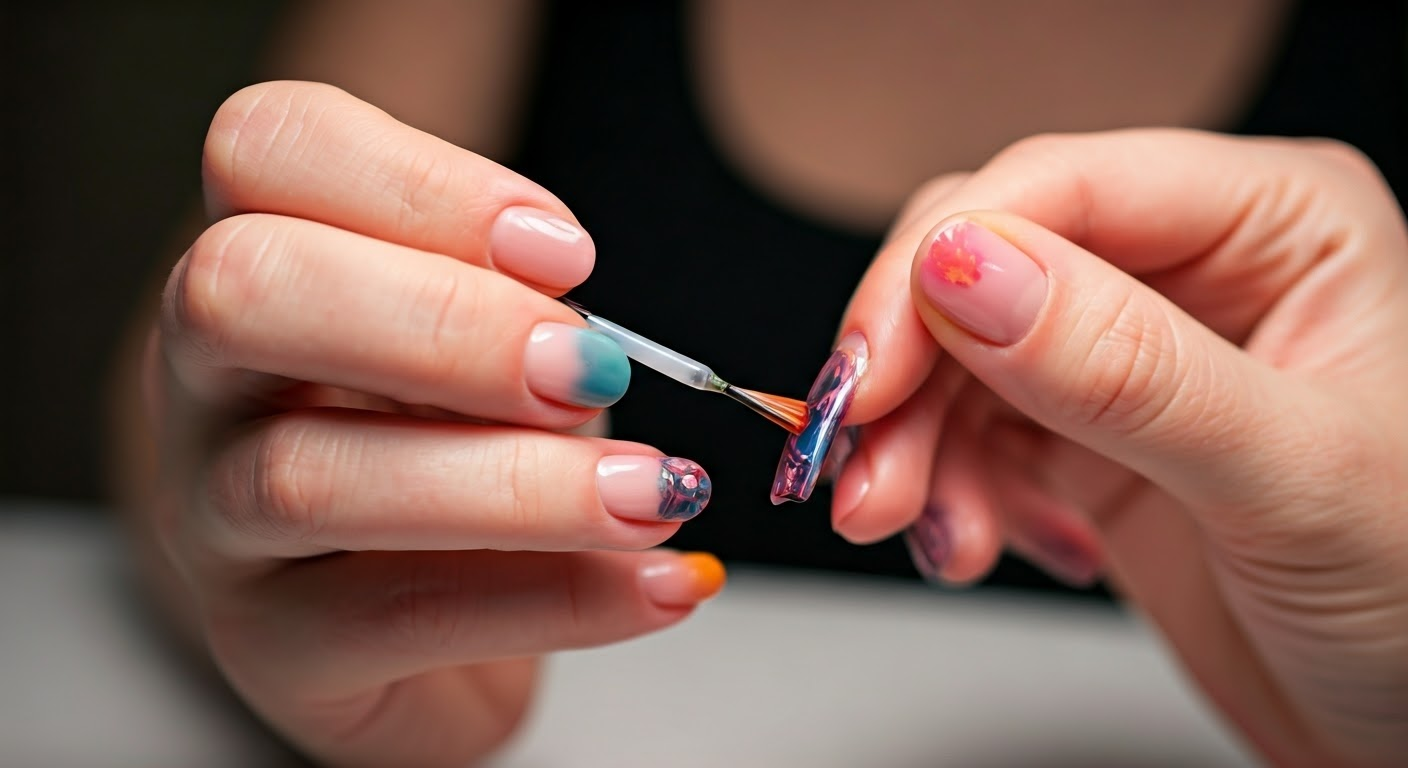
- Nail Art: If you’re feeling creative, now’s the time to add nail art. Use thin brushes, stencils, glitter, or rhinestones to craft your desired designs.
Step 4: Sealing the Color with a Top Coat
It’s time to seal and protect your handiwork:
- Select Your Top Coat: Just like the base coat, ensure your top coat is formulated explicitly for acrylic nails. These top coats are formulated to provide a durable finish that withstands chipping and fading.
- Thin Application: Apply a thin layer of top coat over the entire nail surface, capping the edges to prevent chipping.
- Second Coat (optional): Depending on the top coat and your preference, you can apply a second coat for added shine and durability.
Maintaining Your Painted Acrylic Nails
Congratulations, your nails are now beautifully painted But the work doesn’t end there. Proper nail maintenance is essential. Be mindful of your nails and avoid using them as tools, and they will look their best for weeks to come.
Follow these tips for long-lasting wear.
Tips for Long-Lasting Nail Paint
- Wear Gloves When Doing Chores: To protect your manicure and prevent chipping, it’s a good practice to wear gloves when tackling household chores involving water and cleaning products.
- Avoid Prolonged Exposure to Water: While acrylic nails are generally water-resistant, prolonged exposure to water can weaken the adhesive and potentially lead to lifting.
- Moisturize Regularly: Just like your skin, your nails and cuticles benefit from regular moisturization. Applying cuticle oil or a rich hand cream helps to keep them hydrated and looking their best.
When to Repaint or Touch Up
- Color Change: If you simply want to change your nail color, you can easily repaint over your existing polish using the steps outlined earlier. Remember to use non-acetone remover for a safe polish change.
- Nail Growth: As your natural nails grow, you’ll notice a gap between the acrylic and your cuticle. If you wish to maintain the appearance of a fresh manicure, you can apply a thin coat of nail polish to the exposed part of your natural nail.
- Chipping or Damage: Should you experience any chipping or damage to your acrylics, it’s advisable to visit a qualified nail technician for professional repair or removal.
Conclusion
In conclusion, painting over acrylic nails can be a fun and creative way to change up your look. By following the steps outlined in this guide, you can easily prep your nails and apply nail polish for a fresh appearance. Remember to use quality tools and materials for the best results, and don’t forget to seal in your color with a top coat for long-lasting wear. Whether you’re a beginner or experienced, painting acrylic nails can be a rewarding experience that allows you to express your style. Enjoy experimenting with different colors and designs to keep your nails looking fabulous!
Frequently Asked Questions on Paint Over Acrylic Nails
Can You Use Regular Nail Polish on Acrylic Nails?
Yes, you can use regular nail polish on acrylic nails. It works just as well as it does on natural nails. Just remember to use a non-acetone remover if you plan on changing your polish.