
Furniture painting is an excellent way to breathe new life into old or outdated pieces, allowing you to refresh your home decor without breaking the bank.
Whether you’re aiming to revamp a vintage dresser or update a tired coffee table, giving furniture a fresh coat of paint can transform its look and create a whole new ambiance in your living spaces.
This comprehensive guide will provide all the information you need on how to successfully paint over painted furniture.
Essentials Before You Begin
Before you embark on your furniture painting project, it’s essential to consider a few key factors. First and foremost, determine the type of furniture piece you’ll be working with. Is it made of solid wood, veneer, or another material? The material will influence your choice of paint and preparation techniques.
Secondly, think about the type of paint that was previously used on the furniture. If you’re uncertain, a quick test with denatured alcohol on an inconspicuous spot can help determine if it’s oil-based or latex-based. Lastly, envision the desired paint color and finish you want to achieve. Having a clear picture in mind will make the paint selection process much smoother.
Identifying Furniture Suitable for Repainting
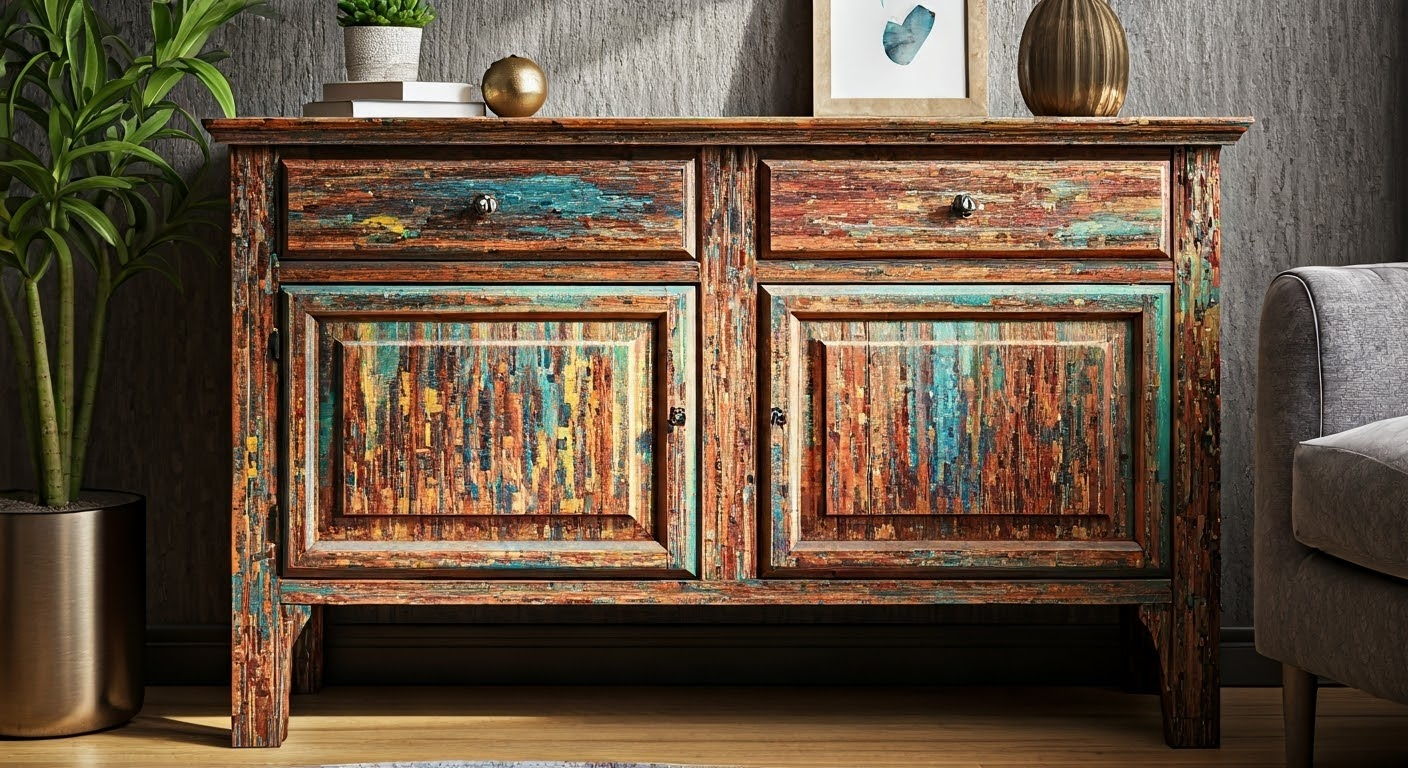
Not all furniture pieces are created equal when it comes to repainting. Solid wood furniture is often an excellent candidate, as it tends to hold paint well and can withstand multiple layers over time. A vintage dresser, for instance, can be transformed with a few coats of paint and some new hardware.
However, furniture made from particleboard or laminate might require additional preparation or specialized paints for optimal results. Moreover, consider the structural integrity of the piece. If it’s significantly damaged or wobbly, repainting might not be the most practical solution.
If you’re searching for hidden gems, platforms like Facebook Marketplace can be treasure troves for finding unique and affordable furniture pieces that are ripe for a makeover. When evaluating a piece, inspect it carefully for any structural issues, water damage, or excessive wear and tear.
Gathering Your Painting Supplies
Having the right painting supplies on hand is crucial for achieving a professional-looking finish. Here’s a list of essential items to gather:
- Cleaning Supplies: Dish soap, warm water, a cleaning rag or sponge, and a tack cloth for removing dust and debris.
- Sanding Supplies: Medium-grit sandpaper (around 120-150 grit) for initial smoothing and fine-grit sandpaper (220 grit or higher) for achieving a smooth finish between coats.
- Painting Supplies: Primer, paint (consider options like chalk paint, latex paint, or milk paint), paintbrushes (choose brushes suitable for your paint type), a paint tray and liner, and a drop cloth to protect your work surface.
Consider investing in a paint sprayer if you’re tackling a large furniture piece or prefer a faster application method. Although they require a bit of practice, paint sprayers can provide a super smooth and even finish, minimizing brush strokes.
Preparing Your Furniture for a Makeover
Properly preparing your furniture piece is the foundation for a successful repainting project. Thorough cleaning and sanding ensure that the new paint adheres well and results in a smooth, professional finish. Skipping these steps can lead to paint imperfections and a less durable outcome.
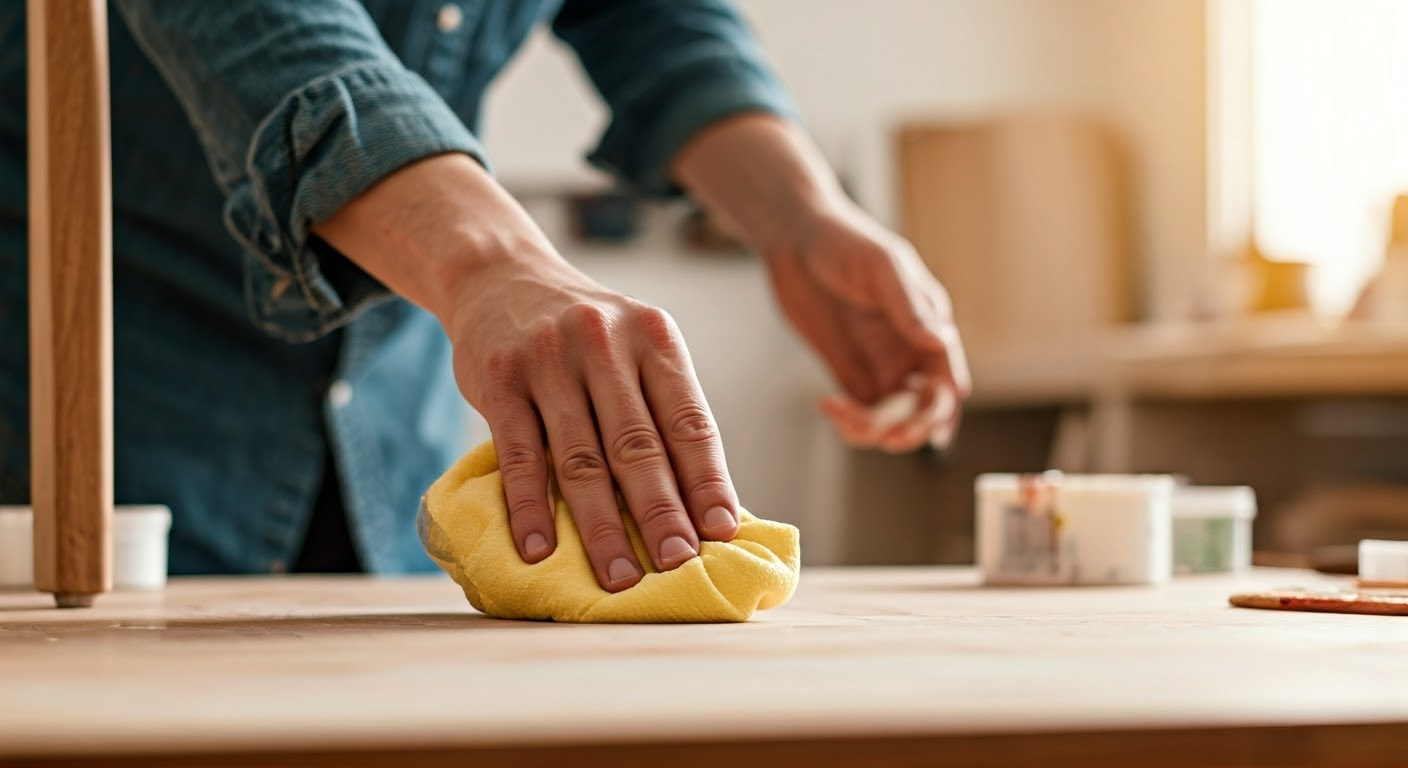
Begin by cleaning your furniture with a mixture of warm water and dish soap, removing any dirt, grime, or residue. Once dry, use medium-grit sandpaper to smooth out any rough spots or imperfections. A tack cloth will help remove dust and debris after sanding, ensuring a clean surface for priming and painting.
Cleaning and Smoothing the Surface
Start by mixing a small amount of dish soap with warm water in a bucket. Using a clean rag or sponge, thoroughly clean the entire surface of your furniture, paying attention to any crevices or ornate details. Rinse the rag frequently to avoid reapplying dirt or grime.
Once you’ve cleaned the entire piece, allow it to dry completely before moving on to the next step. It’s important to ensure the surface is bone dry to prevent moisture from becoming trapped beneath the paint.
After cleaning, it’s time to create a smooth and prepped surface. A tack cloth, which is a sticky cloth specifically designed to pick up dust, works wonders for this purpose. Gently wipe down the entire surface to collect any remaining particles, leaving a pristine base for the primer and paint.
Assessing and Fixing Damages
Before you start painting, take a moment to assess your furniture for any imperfections that need attention. This could include scratches, dents, or chips in the existing paint or wood. Addressing these imperfections beforehand ensures a smoother and more professional-looking finish.
For minor imperfections, a bit of fine-grit sandpaper might be sufficient to smooth them out. However, deeper scratches or dents might require wood filler. Apply the wood filler according to the manufacturer’s instructions, allowing it to dry completely.
Once dry, use sandpaper to level the filled areas, blending them seamlessly with the surrounding surface. Wipe away any dust generated during sanding before proceeding to the next step.
Step-by-Step Guide to Repainting Furniture
Achieving a flawless and long-lasting result when repainting furniture involves a systematic approach. This step-by-step guide will guide you through each stage, from applying the first coat of paint to creating a durable finish. By following these steps diligently, you’ll be well on your way to transforming your furniture piece.
Remember that patience is key throughout the process. Allow ample drying time between each coat of paint and sanding to ensure a smooth and professional-looking result. With a little care and attention to detail, you can achieve stunning results.
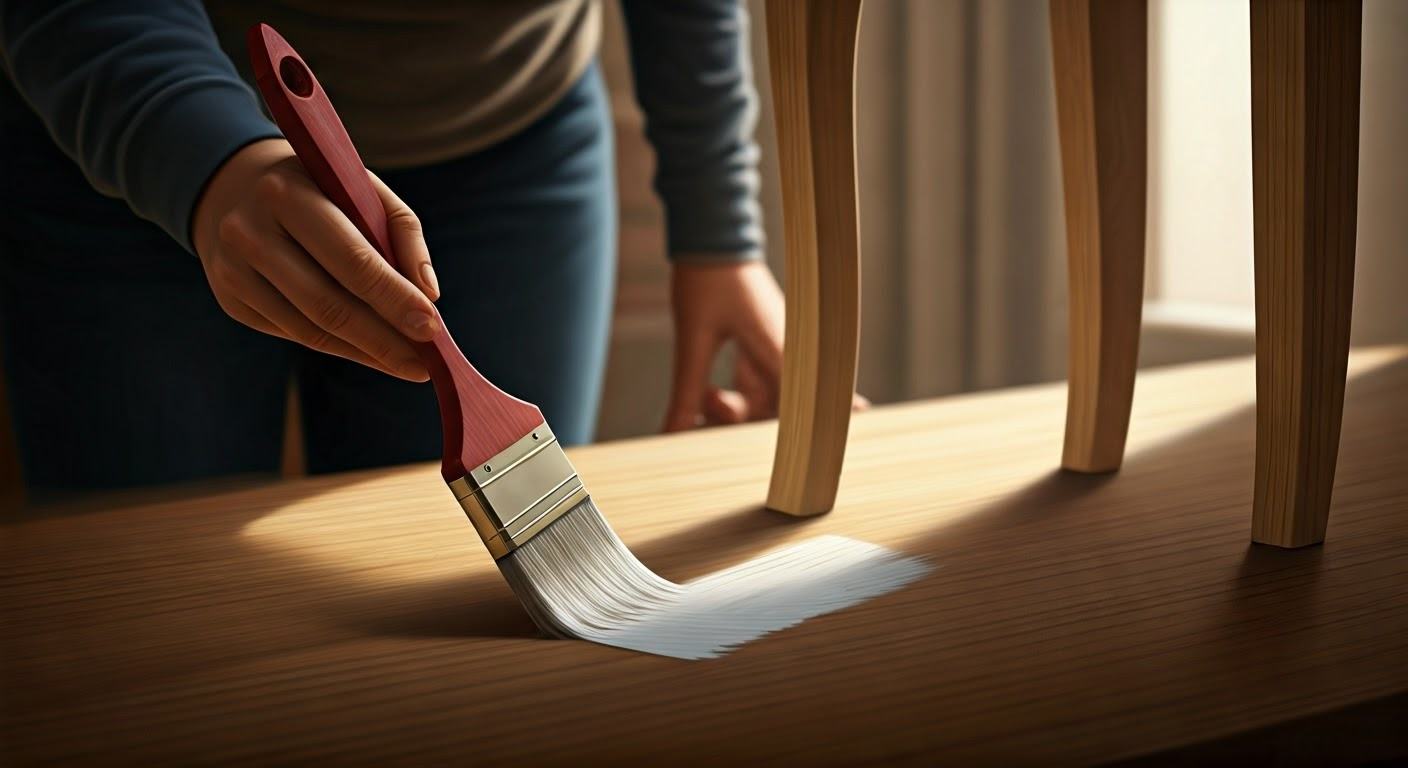
Step 1: Priming Your Furniture
Before applying a new coat of paint to your furniture piece, priming is crucial to ensure a smooth finish. Choose a good primer based on the type of paint you’ll be using and the existing paint on the furniture. Sand the piece lightly with fine grit sandpaper, wipe it clean with a damp rag, then apply a thin coat of primer evenly using a brush or paint sprayer. Let it dry as per the manufacturer’s instructions before proceeding with the new paint for optimal adhesion and durability.
Step 2: Choosing Your Paint
Selecting the right paint for your furniture project is paramount for achieving the desired look and durability. There are numerous options available, each with its pros and cons. Consider factors such as the desired finish, the amount of wear and tear the furniture will receive, and your personal preferences.
Latex paint is a popular choice for furniture as it’s readily available, dries quickly, and comes in various sheens, from flat to high-gloss. Chalk paint, known for its matte finish and ability to be distressed easily, is another excellent option, especially for achieving a vintage or farmhouse aesthetic.
When deciding on sheen, remember that glossier finishes are typically more durable but may highlight imperfections. Matte or satin finishes, on the other hand, offer a more understated look while still providing reasonable durability.
Step 3: Applying the First Coat
Now it’s time to bring your vision to life! Dip your brush into the paint, ensuring to tap off any excess to avoid drips. It’s always best to apply thin coats to prevent runs or unevenness. Let each coat dry thoroughly before applying the next.
As you paint, maintain a wet edge to minimize brush strokes. To achieve this, start painting at one end of a section and work your way across, overlapping each stroke slightly.
Allow the first coat of paint to dry completely before proceeding to the next step. Depending on the type of paint and the humidity levels in your work area, the drying time may vary.
Step 4: Sanding Between Coats
Lightly sanding between each coat of paint is a crucial step in achieving a professional-looking and smooth finish. This helps to eliminate any imperfections, brush strokes, or raised grain, resulting in a flawless surface for the subsequent coat.
It’s best to use fine-grit sandpaper for this purpose, as it’s gentle enough to prevent scratches but effective in smoothing out the painted surface. Before you begin sanding, make sure the paint is completely dry to avoid clogging the sandpaper.
Always sand lightly and in the direction of the wood grain to avoid creating visible scratches. Wipe away any sanding residue with a tack cloth before applying the next coat of paint.
Step 5: Applying the Final Coat
The final coat of paint is what seals in all your hard work, providing a protective layer and revealing the true beauty of the color. Apply this coat with the same care and attention to detail as the previous coats, ensuring a smooth and even application.
Once the final coat is dry, you can assess whether any touch-ups are needed. Pay close attention to edges or areas that might require a bit more coverage. Remember that patience is key, and taking your time with each step will yield the best results.
To enhance the durability of your new paint job, consider applying a sealant or topcoat. This will protect the surface from scratches, spills, and everyday wear and tear, keeping your furniture looking its best for years to come.
Conclusion
painting over painted furniture can breathe new life into your decor with the right tools and techniques. By identifying suitable pieces, preparing them meticulously, and following a step-by-step approach to repainting, you can achieve a stunning makeover.
Remember to choose quality paint for durability and allow sufficient drying time between coats for a flawless finish. Whether you are a beginner or a seasoned DIY enthusiast, this guide equips you with the essentials to transform your furniture creatively.
Start your painting project today and witness the magic of a refreshed space!
Frequently Asked Questions
Can I paint over any type of painted furniture?
While you can generally paint over most types of paint, it’s essential to determine the type of existing paint. Painting over oil-based paint with latex paint may require a bonding primer. If the existing paint is peeling or chipping, stripping it to bare wood is recommended, though that adds cost and time to your job as a furniture fixer.
Do I always need to sand before repainting?
Sanding is usually recommended, even if you’re painting over a similar color. While some paints claim to eliminate the need for sanding, a light sanding helps create a smooth finish and improves the adhesion of the new paint and any top coats.
What kind of paint should I use for durability?
For a durable finish, choose a high-quality latex paint formulated for furniture painting. A durable acrylic latex paint, followed by a protective topcoat, offers excellent durability and resistance to wear and tear.
How long should I wait between coats?
The drying time between coats of paint varies depending on the type of paint and the humidity levels. Always follow the manufacturer’s instructions on the paint can for recommended drying times. As a quick note, lightly wiping the surface with a tack cloth before applying each coat is a good practice.