
Embarking on a painting project involving varnished wood can leave homeowners wondering about the best approach. Can you successfully paint over those sleek, glossy surfaces?
Absolutely! While varnished wood offers a protective layer, a fresh coat of paint can revitalize your furniture or cabinets with a modern touch. The secret to a flawless, long-lasting paint job on varnished wood lies in proper preparation and, most importantly – paint adhesion
| # | Preview | Product | |
|---|---|---|---|
| 1 |

|
Cooking Spoon for Nonstick Cookwares, Great for Cooking... | Check Price |
| 2 |
![6 Pack Magnetic Cable Clips [Cable Smooth Adjustable]...](https://m.media-amazon.com/images/I/4158OqC4xpL._SL160_.jpg)
|
6 Pack Magnetic Cable Clips [Cable Smooth Adjustable]... | Check Price |
| 3 |

|
Whiskey Smoker Kit with Torch, Old Fashioned Cocktail... | Check Price |
| 4 |
|
Homax 10120000 Steel Wool, 12 pad, Grade #0000, Rhodes... | Check Price |
Varnished Wood and Its Effects on Painting
Many homes boast beautiful, varnished wood features, adding a touch of elegance and warmth to their interior. Varnished wood surfaces have a protective sealant that enhances their durability and brings out their natural beauty. However, that very sealant, designed to repel moisture and damage, also creates a challenge when applying a new coat of paint.
| # | Preview | Product | |
|---|---|---|---|
| 1 |

|
LOVE MOMENT Electric Mason Jar Vacuum Sealer Kit for... | Check Price |
| 2 |

|
Mod Podge Gloss Sealer, Glue & Finish: All-in-One Craft... | Check Price |
| 3 |

|
GAQQI Lash Cluster Glue, Lash Bond and Seal Waterproof,... | Check Price |
The smooth, glossy surface of varnished wood makes it difficult for paint to adhere properly. Without taking steps to roughen the surface and create better adhesion, your freshly painted finish might chip, peel, or simply not bond well.
The Basics of Varnish: What It Is and Why It’s Used
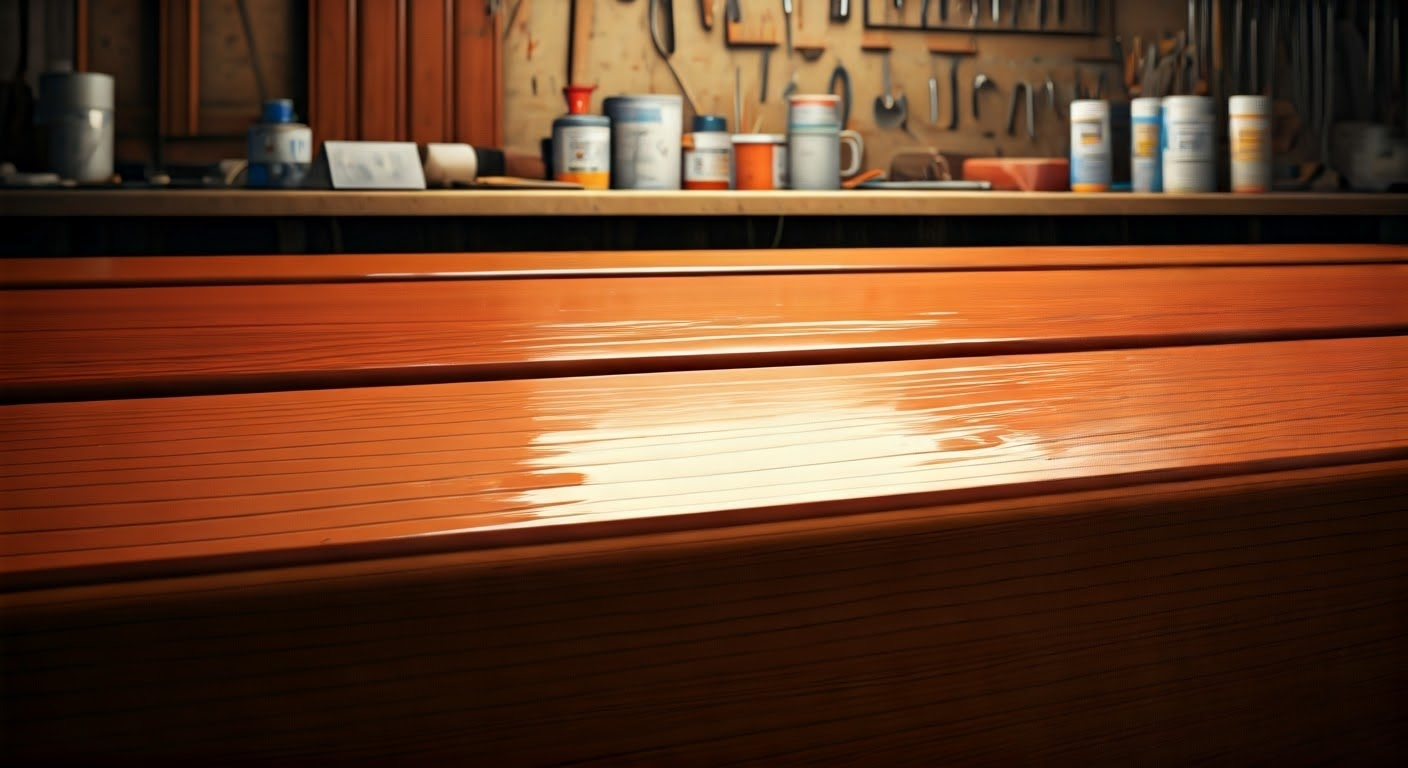
Varnish is a transparent, protective finish applied to wood surfaces to enhance their appearance and longevity. Unlike stains, which penetrate the wood pores, varnish forms a durable coating on top, acting as a shield against scratches, moisture, and UV damage.
Varnish adds a beautiful gloss to wood, highlighting its natural grain and enhancing its color. It’s available in various sheens, from matte to high-gloss, allowing you to achieve the desired look for your wood furniture, cabinets, or floors.
The durability and water resistance make varnish a popular choice for high-traffic areas and surfaces exposed to moisture. It provides a hard-wearing finish that withstands daily wear and tear, preserving the beauty of your wood for years to come.
How Varnish Affects Paint Adhesion
The very properties that make varnish an excellent wood protector can hinder a successful paint job. The smooth, non-porous surface of varnish doesn’t allow paint to penetrate and form a strong bond. In essence, the paint simply sits on top of the varnish, making it susceptible to peeling, chipping, or scratching.
For optimal adhesion, it’s essential to roughen the varnished surface before painting. This creates microscopic grooves and pores that allow the paint to grip firmly, resulting in a more durable and long-lasting finish.
Without proper surface preparation, your paint job might look acceptable initially. However, over time, the lack of a strong bond between the paint and varnish will become evident, leading to an uneven and unsightly finish.
Preparing to Paint Over Varnished Wood: What You Need to Know
Before dipping that brush and unleashing your inner artist, taking the time to prep your varnished wood is essential. Think of it as laying a solid foundation for your masterpiece. This preparation involves gathering the right materials and taking necessary safety precautions.
A well-prepped surface ensures proper paint adhesion, resulting in a smooth, professional-looking finish that stands the test of time. Skipping these steps might lead to frustration later, so let’s make sure you’re fully equipped for a successful painting project.
Tools and Materials Checklist for a Successful Paint Job
Having the right materials at arm’s reach ensures your painting project runs smoothly. Here’s a checklist to guide you:
- Cleaning Supplies: Begin with a clean slate! Gather mild detergent, a sponge, a bucket of warm water, and a clean cloth for drying.
- Painter’s Tape: Use painter’s tape to mask off areas you don’t want to paint, protecting hardware or adjacent surfaces.
- Sandpaper: Medium-grit sandpaper (120-150) is ideal for roughening the varnish, while fine-grit sandpaper (220-240) is useful for smoothing after priming.
- Primer: Choose a primer specifically designed for glossy surfaces to ensure proper paint adhesion.
Remember, investing in quality materials is a wise decision, contributing to a professional-looking outcome.
Safety Tips and Precautions Before You Start
While painting can be a rewarding task, it’s essential to keep safety in mind, especially when working with varnished wood. Here’s a safety checklist to follow:
- Ventilation: Ensure ample ventilation in your workspace, as varnish, paint, and solvents can release fumes. Open windows and doors or use fans for air circulation.
- Protective Gear: Protect yourself by wearing safety goggles, gloves, and a mask, particularly during sanding and when using solvents.
- Fire Safety: Keep flammable materials, such as rags soaked in solvents, away from open flames or heat sources.
Remember, your well-being is paramount. By taking these precautions, you can enjoy the painting process while ensuring a safe and successful outcome.
Step-by-Step Guide to Painting Over Varnished Wood
Now that you’re equipped with the knowledge and tools, it’s time for the exciting part – transforming your varnished wood with a fresh coat of paint. Follow these step-by-step instructions to achieve professional-looking results:
Remember, patience is key throughout the process, allowing for sufficient drying time between each step to ensure a smooth and durable finish.
Step 1: Surface Preparation and Cleaning
Before you even think about paint, thorough surface preparation is non-negotiable. Start by using painter’s tape to protect any areas you don’t want to paint, such as moldings, hardware, or adjacent surfaces.
Next, it’s time to clean the varnished wood meticulously. Mix a solution with mild detergent and warm water. Use a sponge or cloth to wipe the entire surface, removing dirt, grime, or greasy residue that might hinder paint adhesion.
Once cleaned, rinse the surface with a damp cloth to eliminate any soap residue, and then allow it to dry completely before proceeding to the next step. A clean surface is crucial for optimal paint adhesion and a smooth final result.
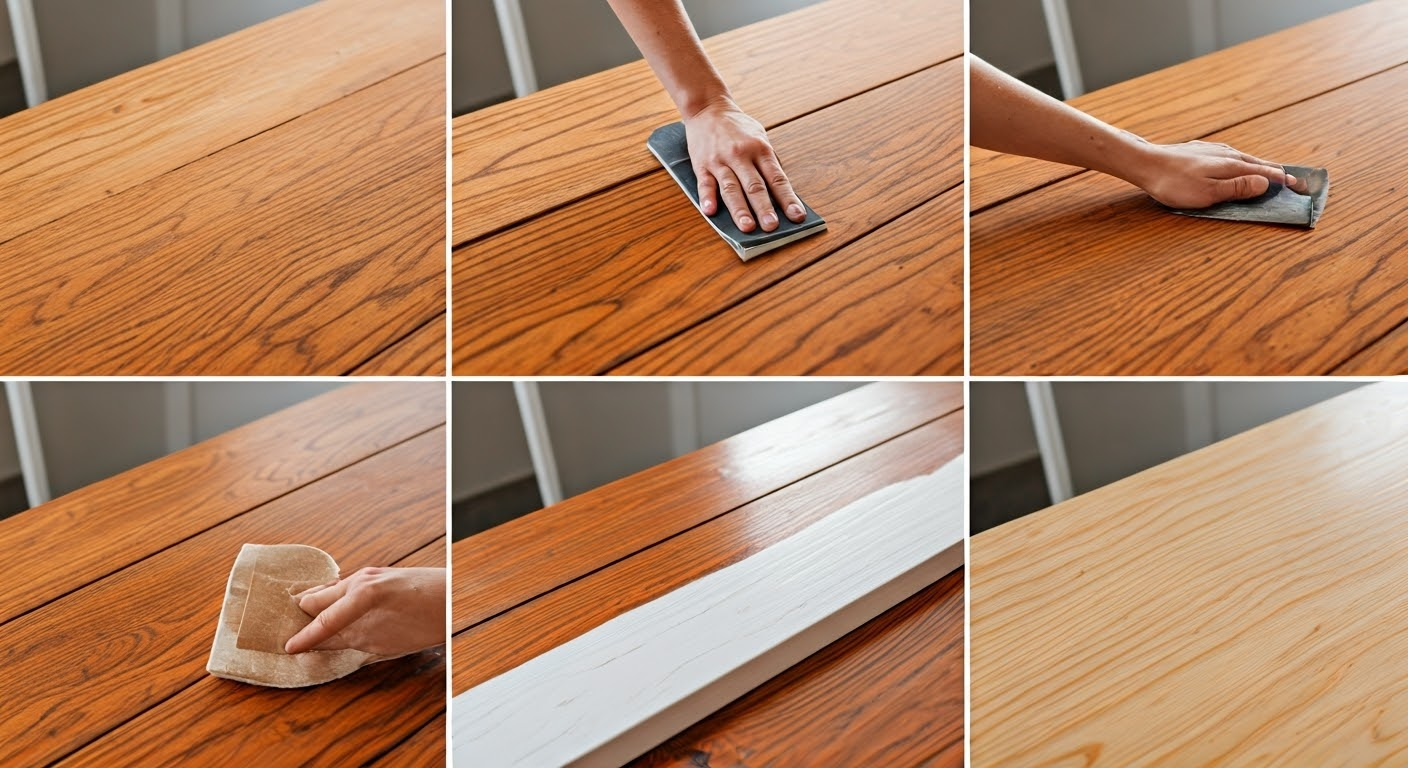
Step 2: Sanding the Varnished Surface
Begin by preparing the varnished wood surface for painting by sanding it thoroughly. This crucial step ensures optimal adhesion for the new paint to bond well. Use sandpaper with the right grit to achieve a smooth finish, removing any imperfections like drips or dents. Sanding also helps the primer to adhere effectively, leading to a flawless final coat. Take care to sand in the direction of the wood grain for the best results. This meticulous process sets the foundation for a professional look in your painting project.
Conclusion
painting over varnished wood can be a rewarding project with the right tools and techniques. Understanding the importance of proper surface preparation, including cleaning and sanding, is crucial for a successful outcome. By following a step-by-step approach and using the appropriate paint and primer, you can achieve a beautifully painted finish on varnished wood surfaces.
Whether you are looking to refresh your furniture or redecorate your home, this process can breathe new life into your wood pieces. Embrace this DIY project with confidence and enjoy the transformation it brings to your living space.
Frequently Asked Questions
Can I paint over varnished wood without sanding?
While there are paints claiming adhesion without sanding, it’s not recommended for optimal results. Sanding varnished wood, even lightly, significantly improves paint adhesion, preventing peeling and ensuring a longer-lasting finish, especially if the varnish is in good condition.
What type of paint works best on varnished wood?
Both oil-based and latex paints can yield excellent results when applied correctly. However, latex paints, particularly acrylic latex, have become increasingly popular due to their faster drying time, easier cleanup, and lower fumes.
How many coats of primer do I need?
In most cases, one coat of primer is sufficient for varnished wood. A good quality primer enhances adhesion and creates a uniform surface for the paint, ensuring a smoother and more durable painted surface.
How long should I wait between paint coats?
Generally, it’s recommended to wait at least 2-4 hours for the first coat of paint to dry before applying a second coat. Following the paint manufacturer’s instructions regarding drying time ensures the best results and minimizes the risk of the paint becoming tacky or smudging.
Can I apply a new varnish over the paint for extra protection?
While possible, it’s generally unnecessary to apply varnish over paint. Modern paints offer excellent durability and protection. However, you can opt for a clear topcoat designed for painted surfaces for added durability.